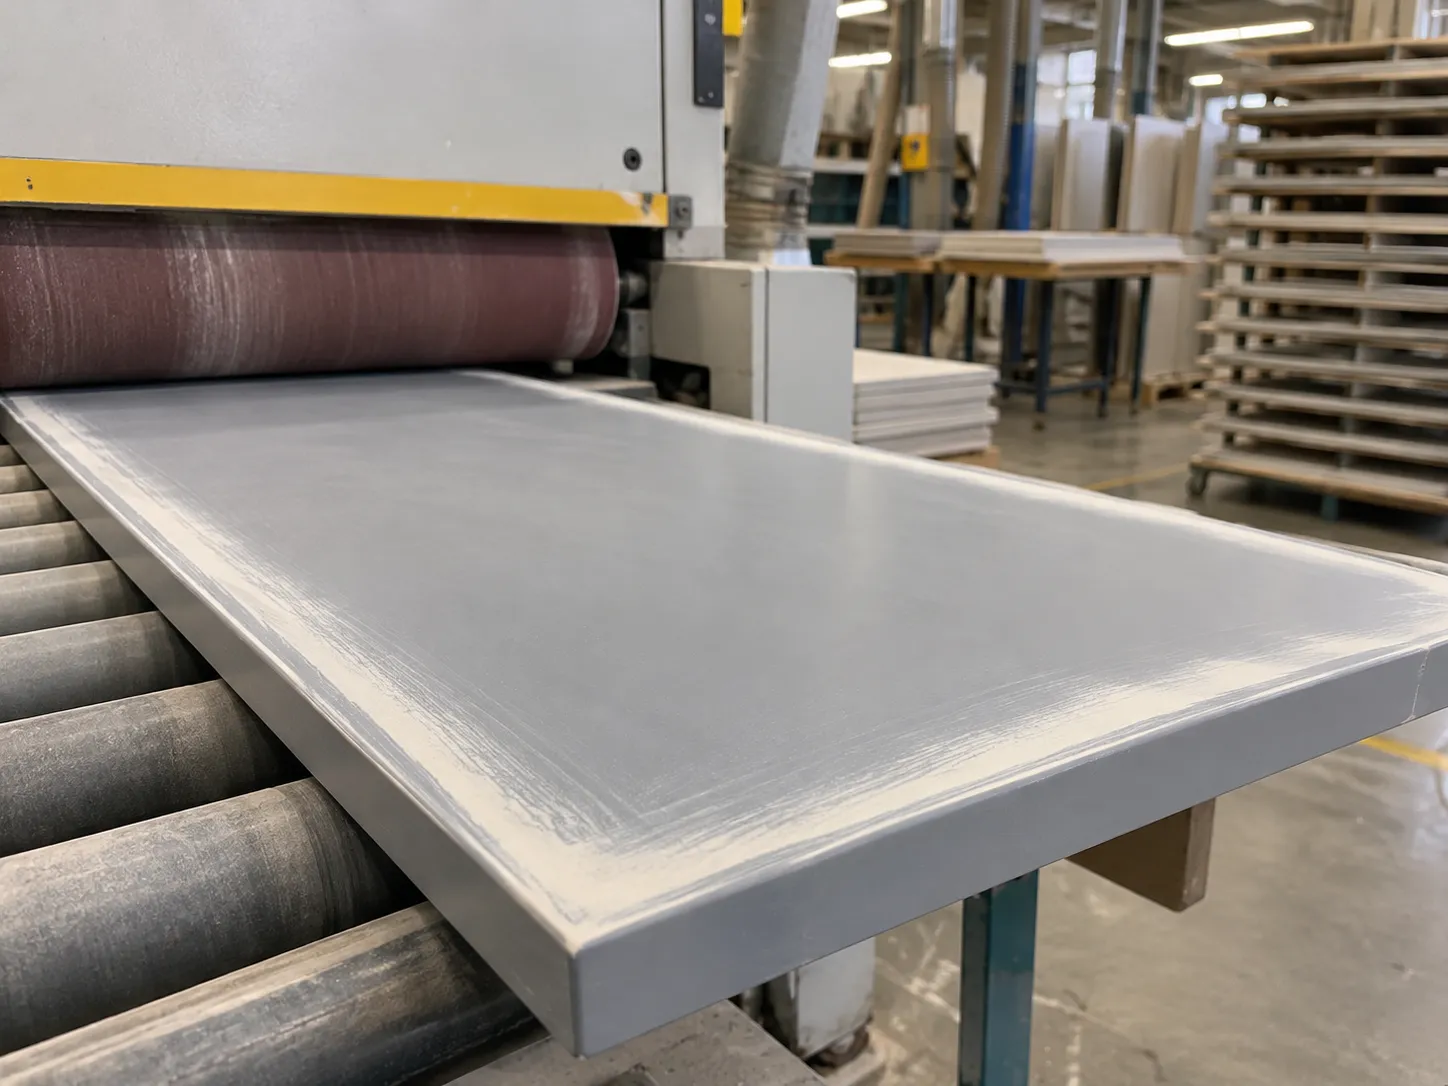
Edges and Perimeter Areas
Edges can be overcut before broad flat areas reach the required condition, sending parts back for coating or repair.
For furniture, cabinet, and wood-door coating lines, primer sanding must level the surface without cutting too deeply at edges, profiles, or recessed areas.
MASA matches the contact method, machine path, and abrasives to the coating and workpiece, then checks the configuration with supplied project material before shipment.
Primer problems often begin where one contact setting meets surfaces with different geometry or coating build.
Edges can be overcut before broad flat areas reach the required condition, sending parts back for coating or repair.
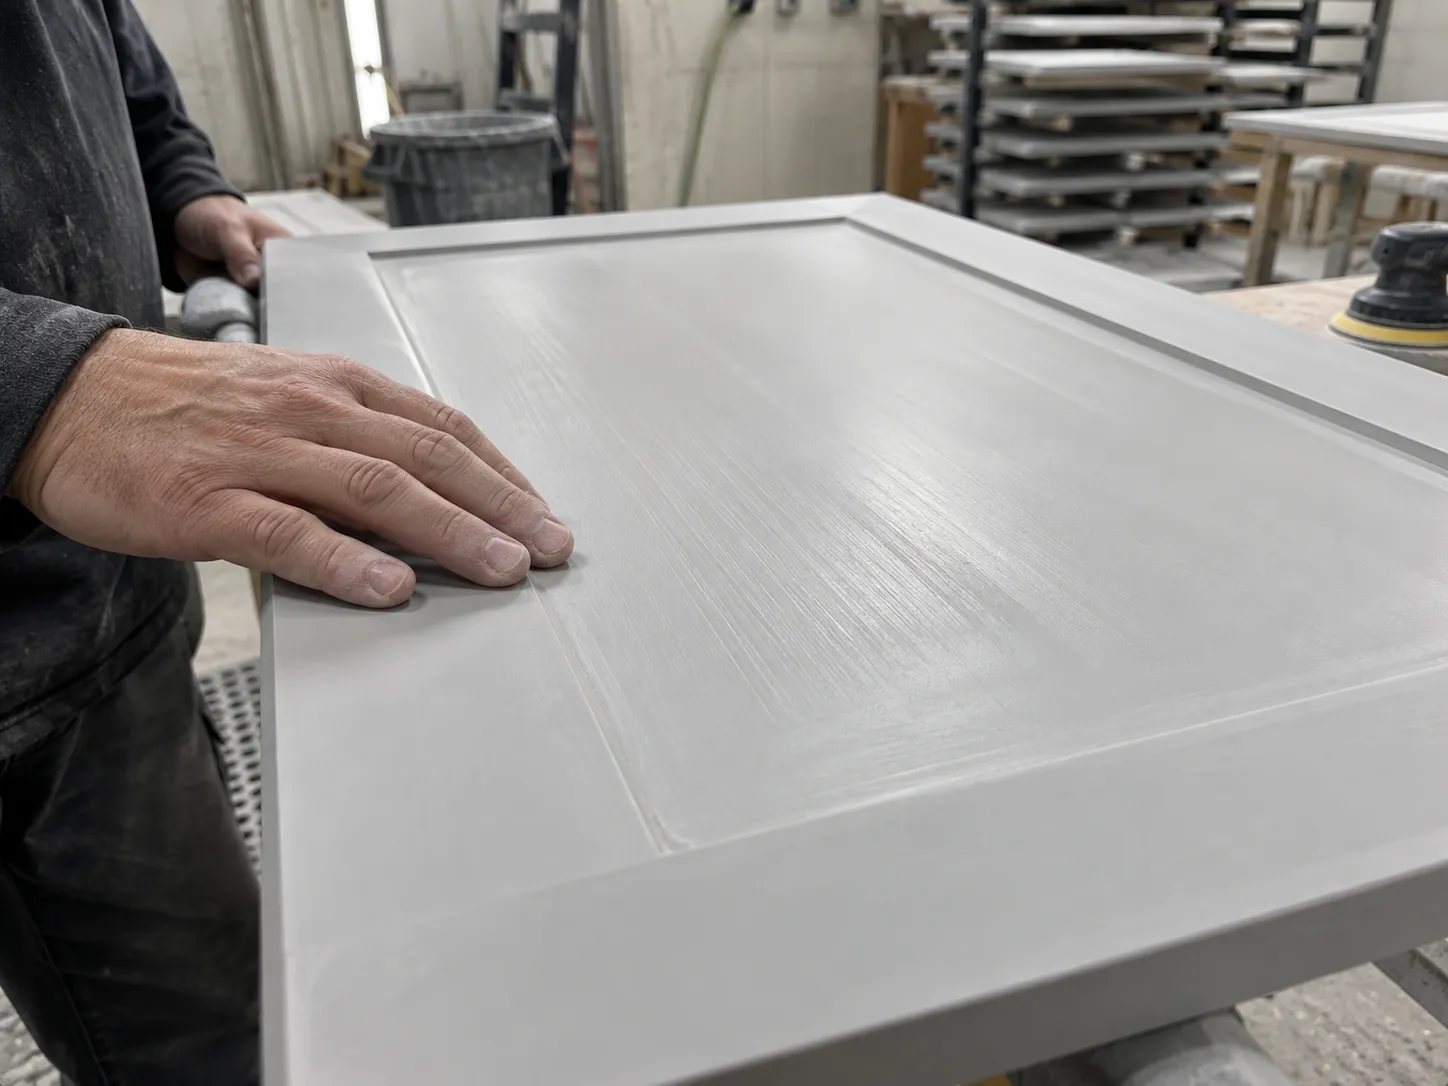
Fixed contact can leave recessed zones underworked while pressing too hard on raised profiles or exposed texture.
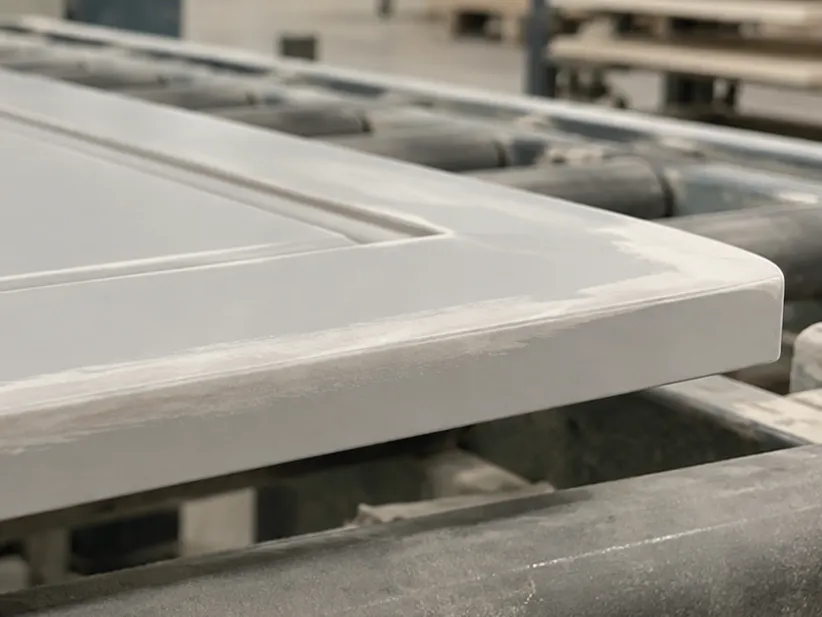
Uneven preparation can leave visible marks or an inconsistent surface for the following coating stage.
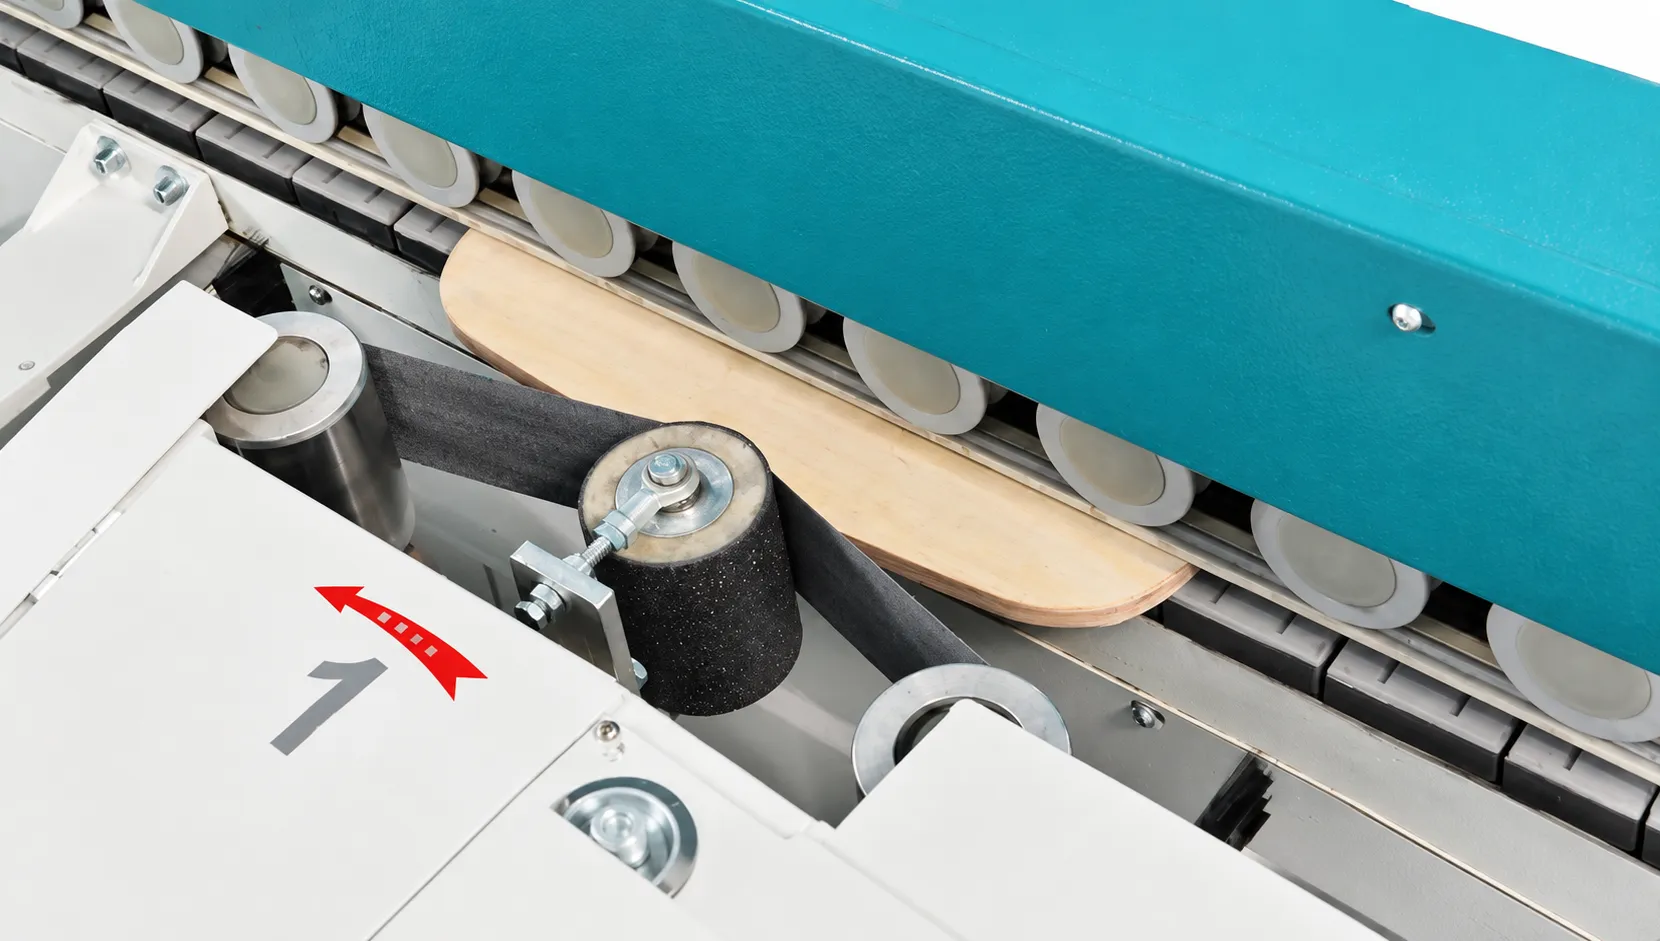
For a dedicated floating-primer route, magnetic-scale positioning works with a ball-screw lifting system to establish the sanding-head position. This gives technicians a defined mechanical starting point before material trials.
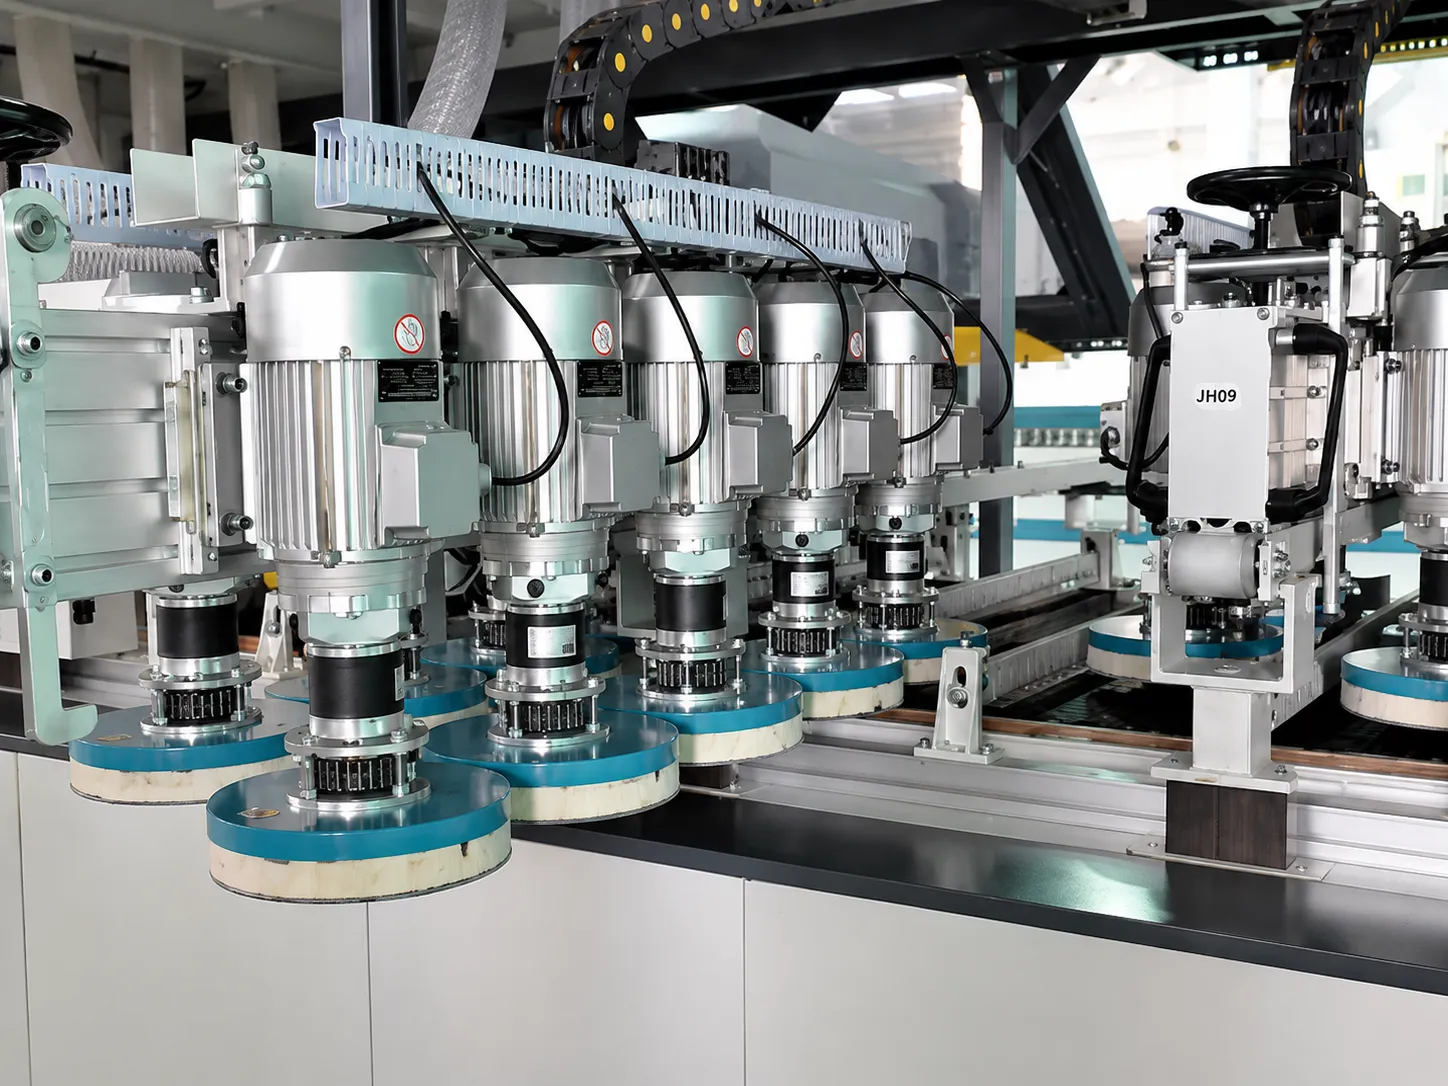
On applicable piano-key configurations, a mechanical travel switch detects the workpiece and an optical encoder tracks its position. Individual pads lift as the perimeter reaches the contact zone, reducing unnecessary pressure at the edge.
Matched to the coating and removal target
Which groups engage and in what order
Floating-head or applicable piano-key response
Grits and brush materials in working order
Full-sealed UV and open-pore primer require separate process decisions rather than one repeated recipe.
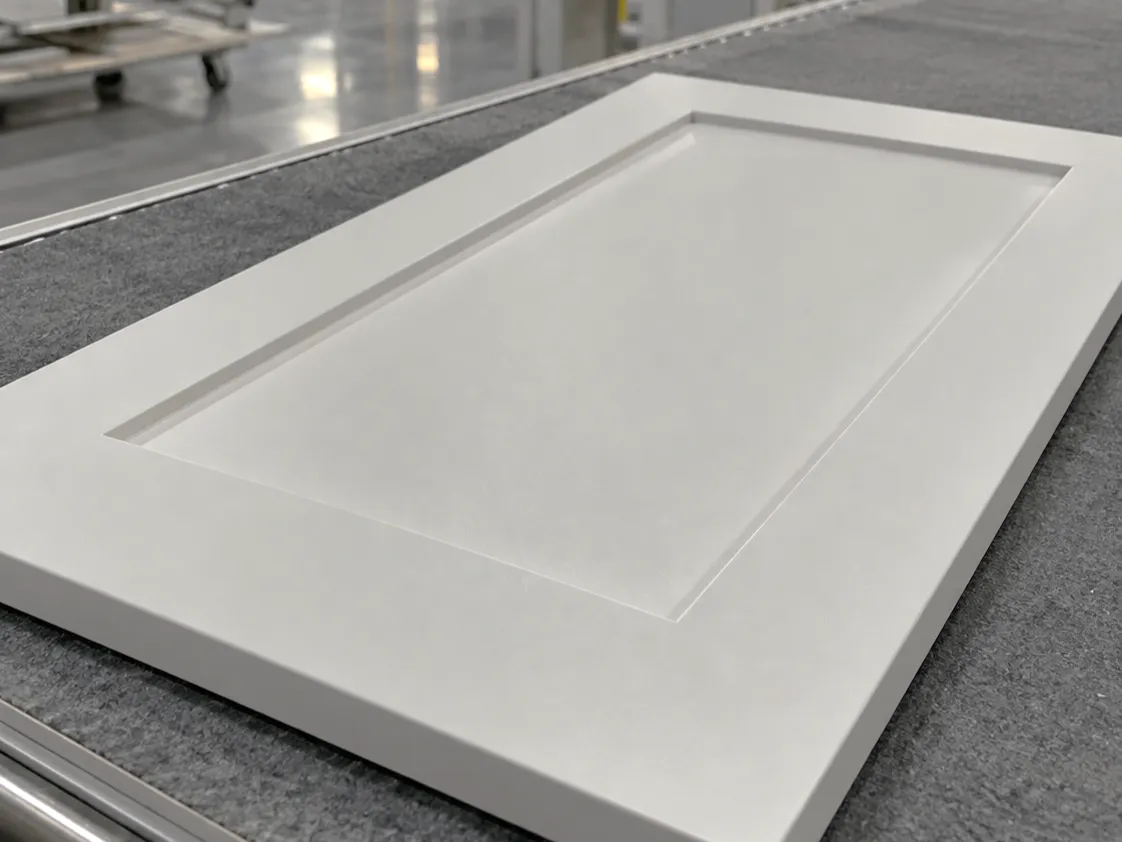
Review the curing stage, surface geometry, removal target, and next coating operation. Machine contact and abrasives are then selected against the actual coated sample.
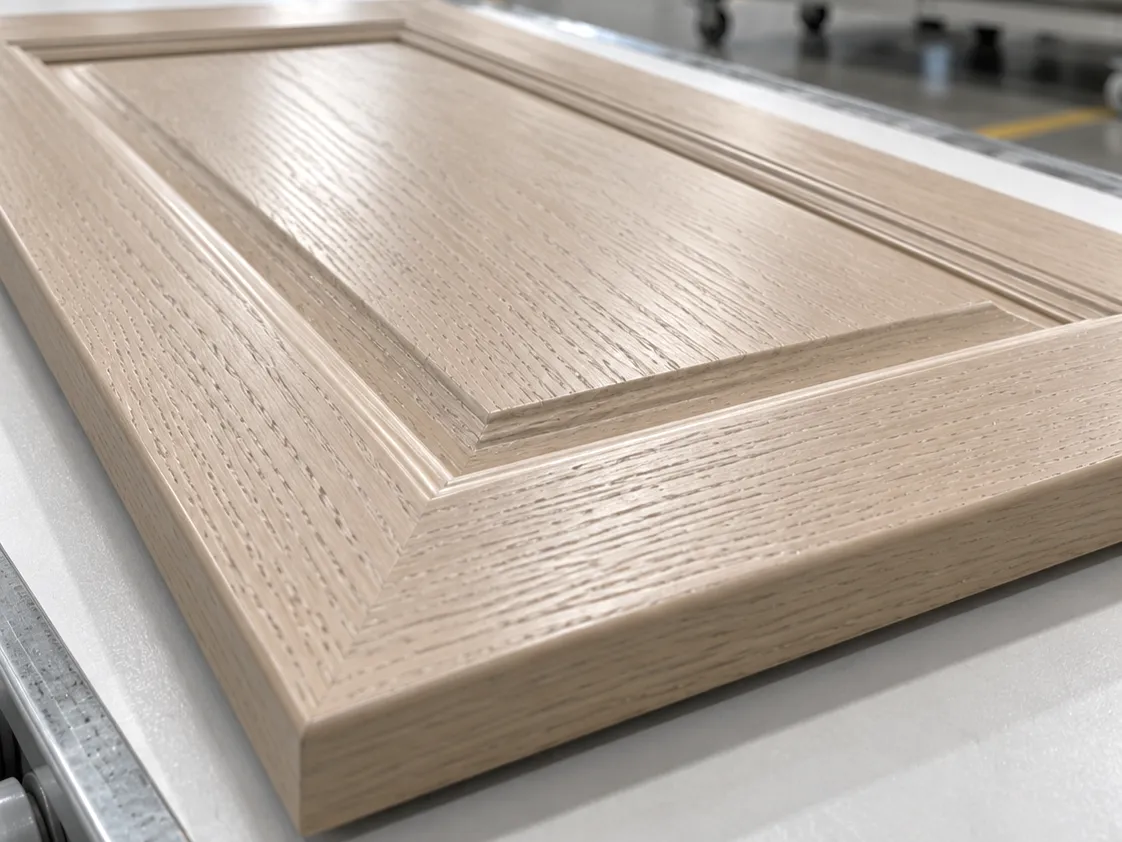
Where the finish must retain visible texture, the route must follow pores, grooves, and raised profiles without treating every area as a flat surface.
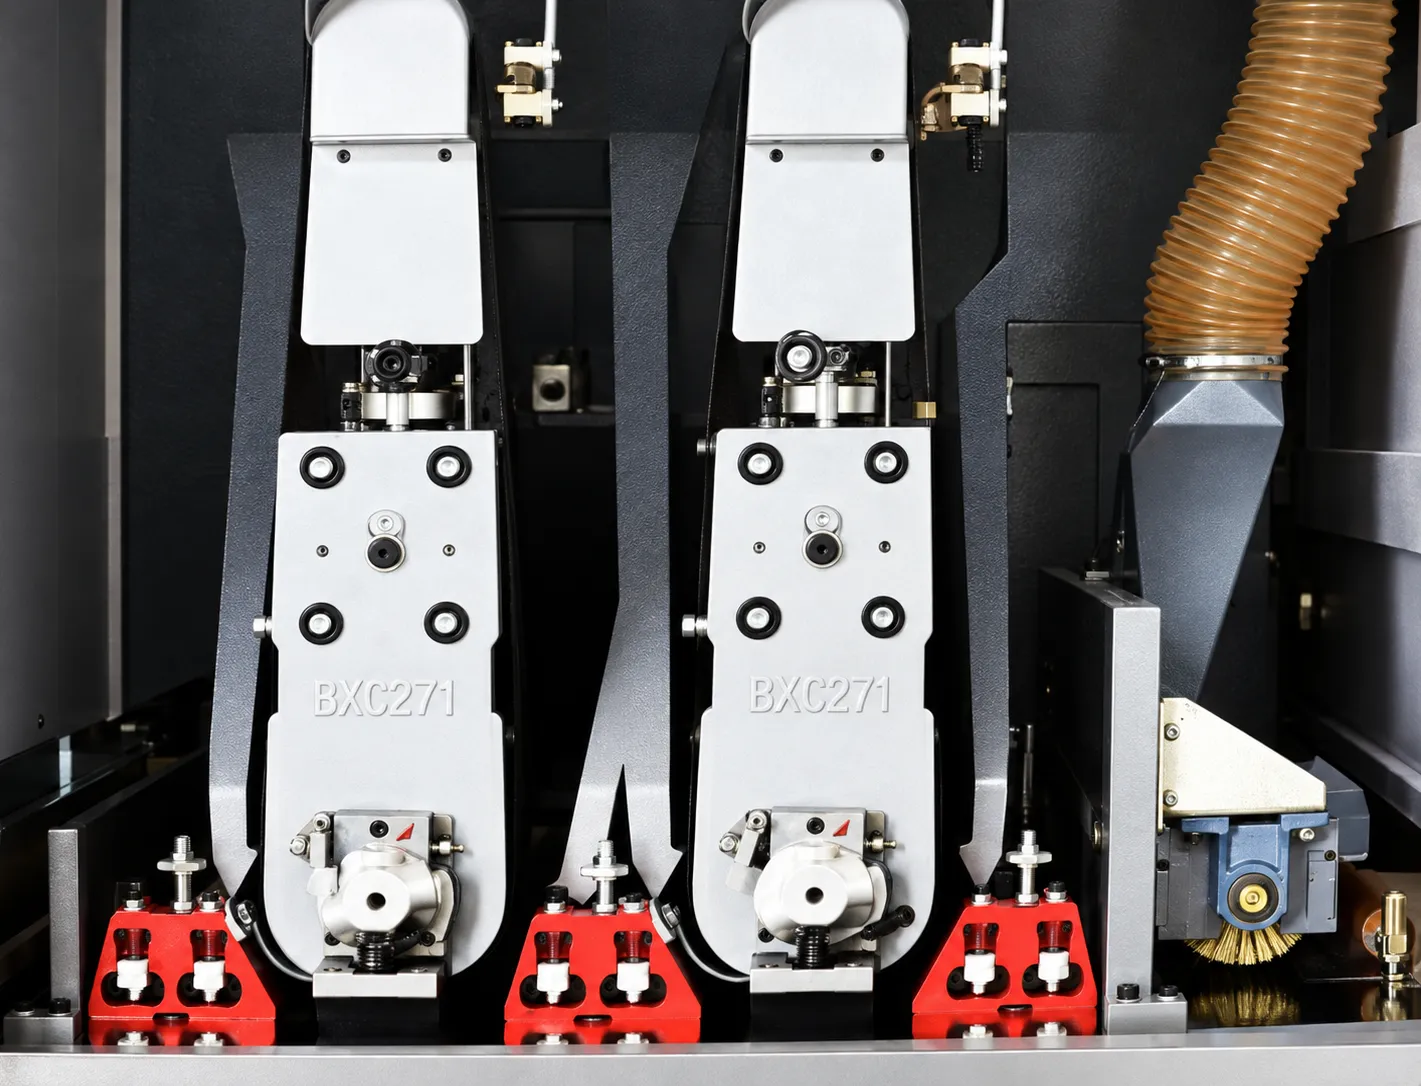
A dedicated primer route combines the appropriate head-positioning method, sanding contact, and abrasive sequence around the coating and workpiece geometry.
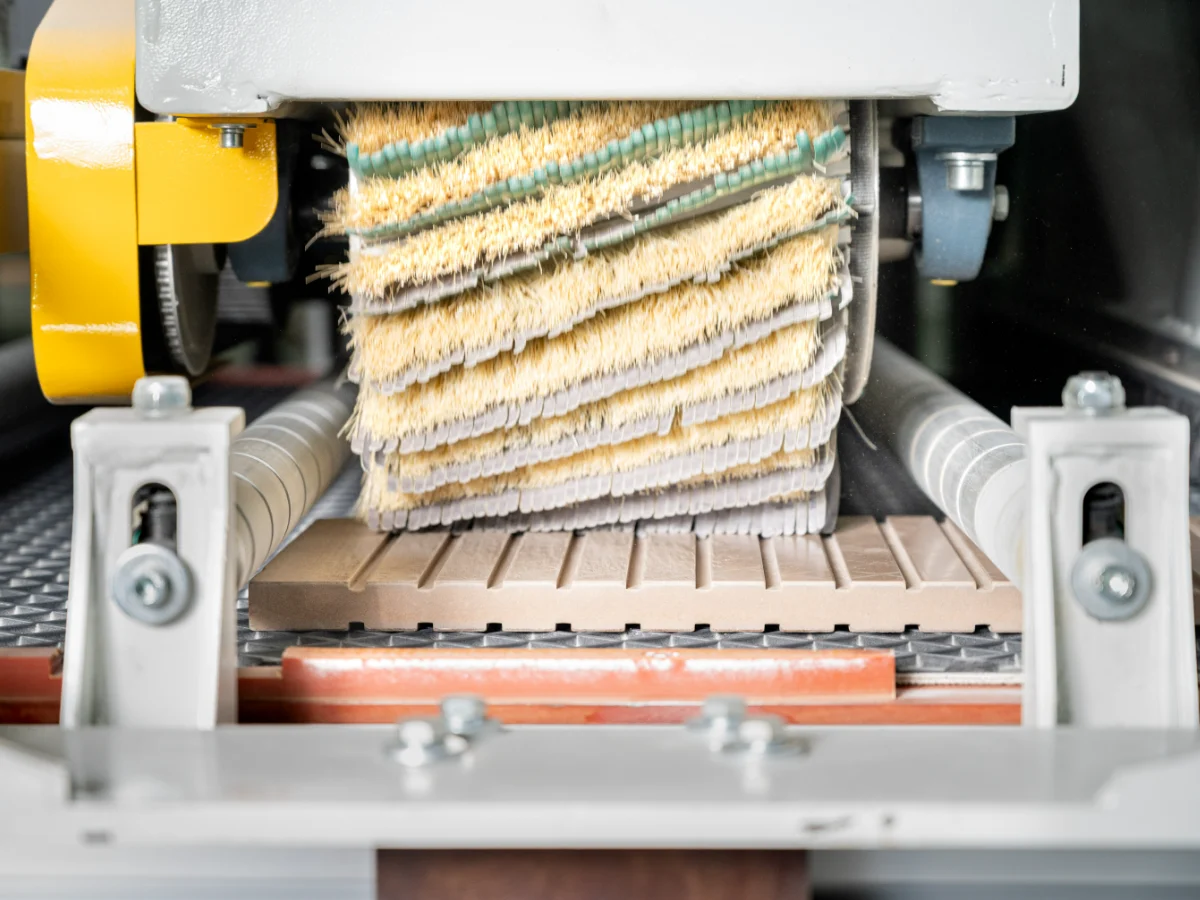
When one machine must handle both operations, MASA can evaluate a wide-profile configuration with independently adjustable sanding groups and settings for raw wood and primer.
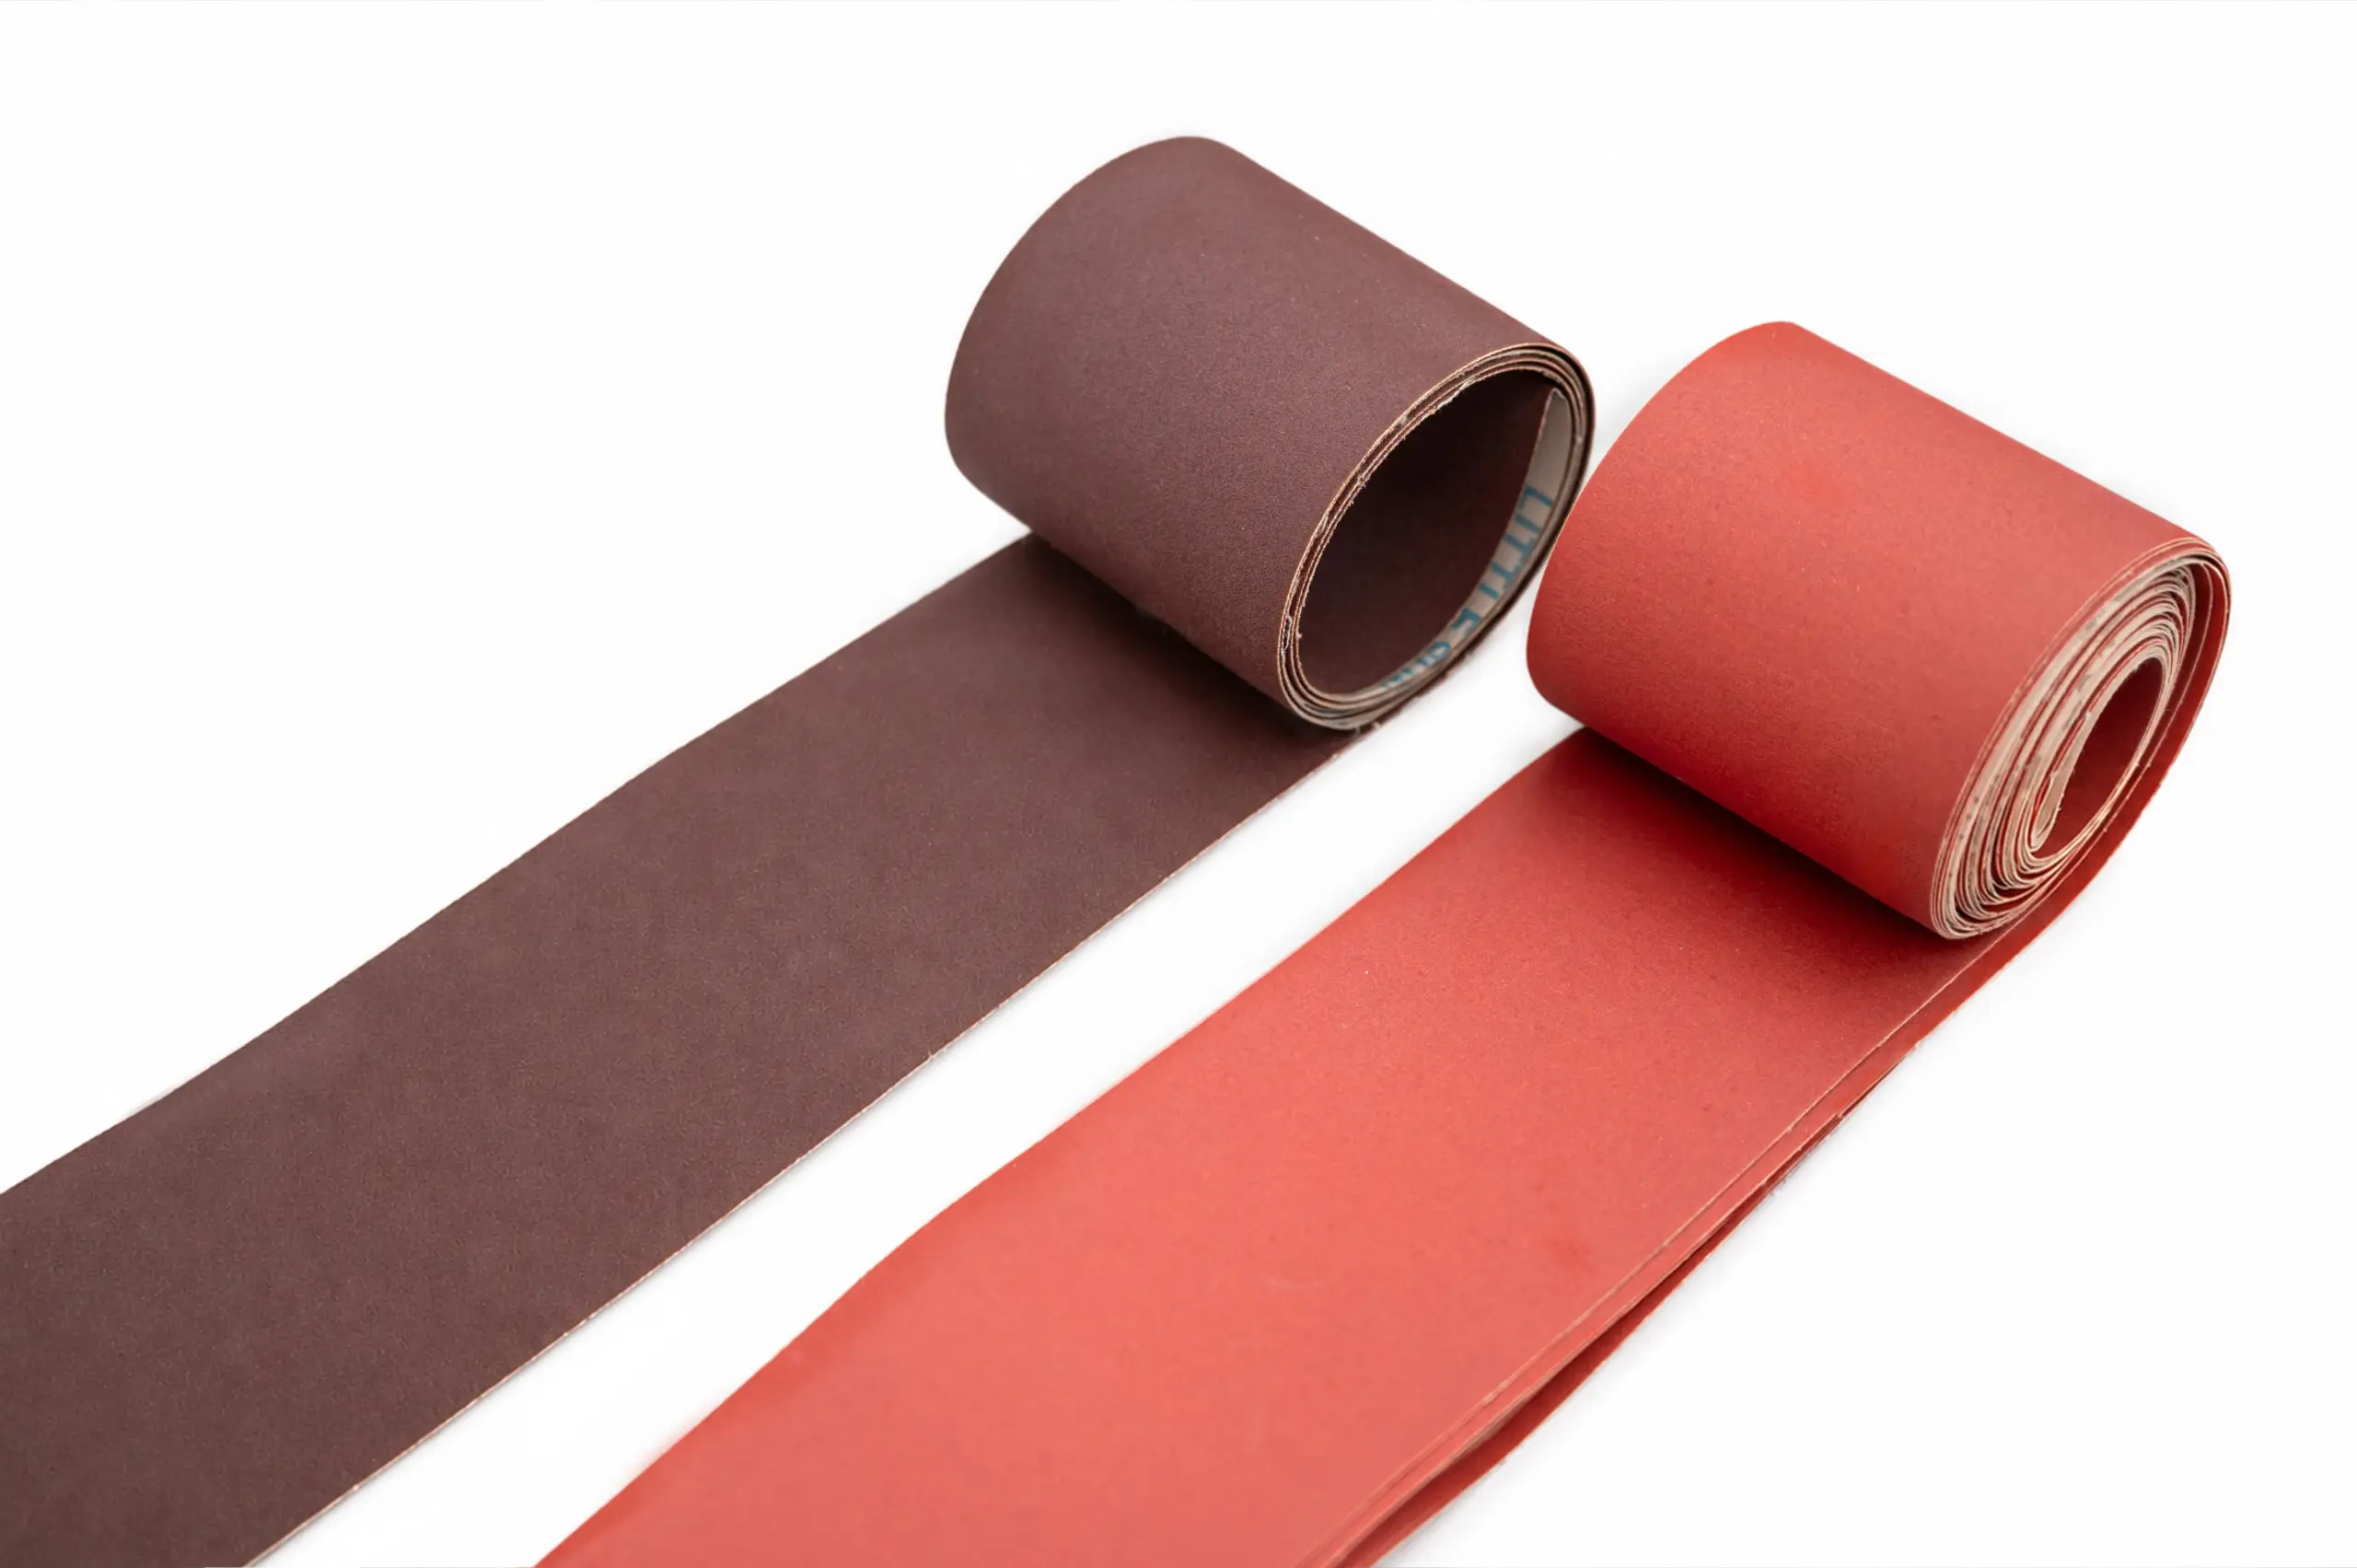
Available abrasive-strip grits include 180, 240, 320, 400, and 600, together with matching brush materials. The final sequence follows coating review and material testing.
Review coating type and curing stage, substrate, dimensions, surface geometry, current defects, and target finish.
Match the machine, sanding-head or group configuration, contact method, and abrasive options to the task.
Process the supplied sample and inspect flat areas, profiles, grooves, and perimeter edges before final adjustment.
Complete the configured material run-off alongside voltage, leakage-protection, functional, and appearance checks. Video factory inspection and onsite factory inspection are supported.
Send the coating type, substrate, workpiece dimensions and geometry, current defects, target finish, output requirement, and production-line interfaces.
Photos, drawings, or sample details help define the machine path, abrasive options, and material-trial scope before configuration.
Your inquiry is strictly confidential. A dedicated technical specialist will respond within 24 hours.